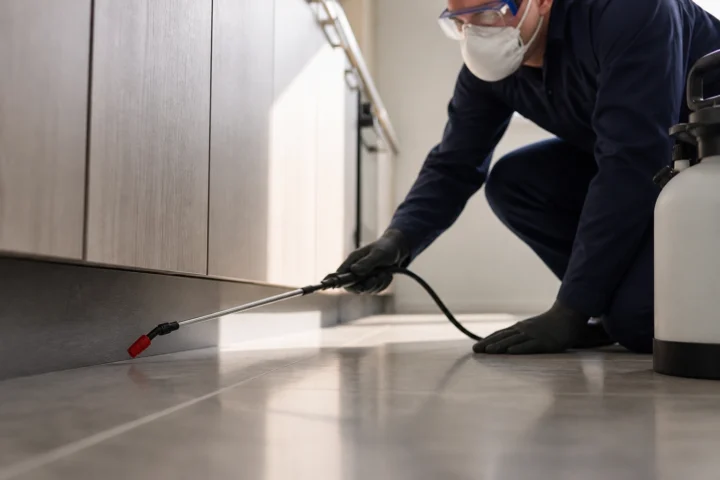
If the pellet is roughly rice-sized with pointed ends, you’re almost certainly looking at mouse droppings. If it’s the size of an olive or a raisin, thicker, and blunt or capsule-shaped on the ends, it’s a rat. Either way, don’t touch it dry. Skip the broom and the vacuum, put on gloves, and wet the area with disinfectant before you clean anything up.
TL;DR:
- Droppings smaller than 6 millimeters with pointed ends indicate mice, while rat droppings are larger, measuring 12 to 18 millimeters with blunt or capsule shapes.
- Fresh droppings are dark, moist, and hold their shape, whereas old ones turn gray or dusty and crumble easily, signaling how recent the activity is.
- Mice typically leave scattered pellets along travel routes, rats form tight clusters near burrows or in high areas like attics, depending on their species.
- Inspecting location patterns and size helps determine species, with mice in baseboards, Norway rats near foundations, and roof rats in ceiling insulation.
- Proper cleanup requires protective gear, disinfectant, and wet removal; do not vacuum dry droppings, especially in contaminated insulation or difficult spaces.
Table of Contents
- Rat vs Mouse Droppings: Size, Shape, and Texture Clues
- Where You’ll Find Mouse vs Rat Droppings in a House
- What the Droppings Tell You About Infestation Size and Species
- Health Risks and How to Clean Up Droppings Safely
- What to Do in the Next 24 to 72 Hours
- Color and Smell: The Other Clues Most People Miss
- Why Droppings Show Up More in Some Seasons Than Others
- How Professionals Read Droppings to Plan Treatment
- Getting a Professional Read on Your Rodent Problem
- Sources
Rat vs Mouse Droppings: Size, Shape, and Texture Clues
Size does most of the work in this identification. Mouse droppings run 3 to 6 millimeters long, roughly the size of a grain of rice, with pointed ends and a slight curve. Rat droppings measure 12 to 18 millimeters, closer to an olive pit or a raisin, and the end shape tells you which rat you’re dealing with.
- Norway (brown) rat: blunt, capsule-shaped pellets, often found near ground-level burrows
- Roof rat: spindle-shaped or curved pellets, generally smaller and more tapered than a Norway rat’s
- Mouse: small, pointed, spindle-shaped pellets scattered rather than piled
Texture tells you how recent the activity is. Fresh droppings are dark, moist-looking, and slightly soft to the touch (through a glove, never bare skin) — they’ll hold their shape if you nudge them. Old droppings turn gray or dusty and crumble apart with light pressure. That crumble test matters because a mix of glossy and chalky pellets in the same spot means you’ve got an active, ongoing problem rather than a one-time visitor.
Quick reference: measured size ranges
Mouse droppings: 3–6 mm (about 1/8 to 1/4 inch). Rat droppings: 12–18 mm (about 1/2 to 3/4 inch), with Norway rat pellets blunt and roof rat pellets more spindle-like.
Where You’ll Find Mouse vs Rat Droppings in a House
Location patterns are almost as diagnostic as size, because mice and rats move through a house in completely different ways.
- Mice scatter droppings along their travel routes: baseboards, inside cabinets, behind the fridge or stove, and occasionally up in cupboards or on pantry shelves. A mouse might leave 10 to 15 pellets spread over a few feet rather than in one pile.
- Norway rats stick close to the ground. They leave latrine-style clusters near burrows, along foundation walls, under sheds, or beside stored boxes in a garage.
- Roof rats climb. Their latrines tend to show up in attic insulation, wall voids, or along rafters, well above head height, which is a strong clue you’re dealing with a climbing species rather than a burrowing one.
Combine the two signals and identification gets much easier. Rice-sized pellets scattered along a kitchen baseboard point to mice. A tight pile of thick, blunt-ended pellets under a garden shed points to Norway rats. A cluster of spindle-shaped droppings in ceiling insulation points to roof rats, and that distinction changes where you’d ever place a trap.
What the Droppings Tell You About Infestation Size and Species
Droppings aren’t just an ID tool. They’re a rough gauge of how bad the problem actually is, and how long it’s been going on.
- Light, scattered pellets in one room usually mean a small, recent presence, maybe one or two mice that found a way in over the last week or two.
- Heavy volume across multiple rooms signals an established population. A single mouse can produce numerous droppings a day, so widespread pellets in multiple areas usually indicate a population rather than a lone animal.
- A mix of fresh (dark, soft) and old (gray, crumbly) droppings in the same area tells you the population has been breeding there for a while, not just passing through.
Species identification directly shapes the fix. Roof rats need traps up high, along rafters or in wall voids near the roofline, because that’s where they nest and travel. Norway rats need ground-level placement near burrows and foundations. Mice need small, low-set traps tucked against walls where they actually run, since mice hug edges and rarely cross open floor space. Guessing wrong on placement is one of the most common reasons DIY trapping fails for weeks on end.
Health Risks and How to Clean Up Droppings Safely
Rodent droppings carry real disease risk, and the danger isn’t just in touching them; it’s in breathing the dust they create when disturbed. Dried droppings can crumble into airborne particles that carry leptospirosis, salmonella, lymphocytic choriomeningitis virus (LCMV), and in rare cases, rat-bite fever pathogens, all of which is why sweeping or vacuuming dry droppings is one of the worst things you can do.
The safer method, drawn from public health guidance, looks like this:
- Put on gloves, waterproof clothing, and a properly fitted face mask before you go near the area.
- Spray droppings and the surrounding surface thoroughly with disinfectant and let it soak for several minutes rather than wiping immediately.
- Wipe up the wet, disinfected mess with paper towels and seal everything in a plastic bag before disposal.
- Disinfect the entire surface a second time once debris is cleared.
That wet-first approach is the core of the guidance from WA Health’s advisory on mouse infestations and cleanup safety, and it applies whether you’re dealing with mouse pellets under a sink or a rat latrine in a shed. Contamination risk doesn’t scale down just because the animal is smaller.
Pro Tip: If you find droppings in insulation, inside wall cavities, or in any space you’d need to crawl into, don’t attempt cleanup yourself. Soiled insulation often needs full removal and replacement, and that’s a job for someone with proper respiratory protection and disposal equipment.
Call a professional outright if you’re dealing with a large accumulation, contaminated insulation, or if anyone in the household is pregnant, elderly, or immunocompromised. Those groups face higher risk from even brief exposure to airborne particles.
What to Do in the Next 24 to 72 Hours
Once you’ve spotted droppings, a short, methodical check beats a panicked scramble.
- Inspect key zones with a flashlight, wearing gloves: baseboards, under the sink, behind appliances, garage corners, and attic access points if you’re comfortable reaching them.
- Photograph what you find next to a coin or ruler for scale, and note exactly where each cluster or trail was located, since placement is what a technician will ask about first.
- Secure food in sealed containers, and temporarily plug any obvious gaps you can see with steel wool or caulk (rodents chew through plastic and foam).
- Set traps at the right height based on what you found. Low along walls for mice, ground-level near burrows for rats, and elevated for suspected roof rat activity.
Call a professional if you’re seeing latrine clusters, activity in more than one part of the house, a visible nest, or signs that point to both species at once. That last one especially, since mixed rat and mouse activity usually means a bigger structural entry problem that a few traps won’t solve.
Color and Smell: The Other Clues Most People Miss
Color and odor add a second layer of confirmation when size alone leaves you unsure. Fresh droppings from either species start out dark brown to black and have a slight sheen, almost like wet coffee grounds. That shine fades within a day or two as they dry out, turning gray-brown and eventually chalky. If you’re seeing shiny, near-black pellets, the activity is recent, likely within the last 24 to 48 hours.
Smell matters more with rats than mice, mostly because of scale. A heavy rat infestation often produces a distinct, musky ammonia odor, especially in enclosed spaces like wall voids or under decking, where urine and droppings build up in one spot over time. Mouse infestations can smell similar but usually need a much larger population before the odor becomes noticeable, since mice produce smaller volumes and tend to spread their waste around rather than concentrate it.
One lookalike worth knowing about: bat guano. It resembles mouse droppings at a glance, but it crumbles to a fine dust and often contains tiny shiny fragments of insect wings. Crushing a pellet with a gloved finger is the simplest way to tell the two apart. Guano disintegrates easily; rodent droppings tend to hold together longer, even when dry.
Why Droppings Show Up More in Some Seasons Than Others
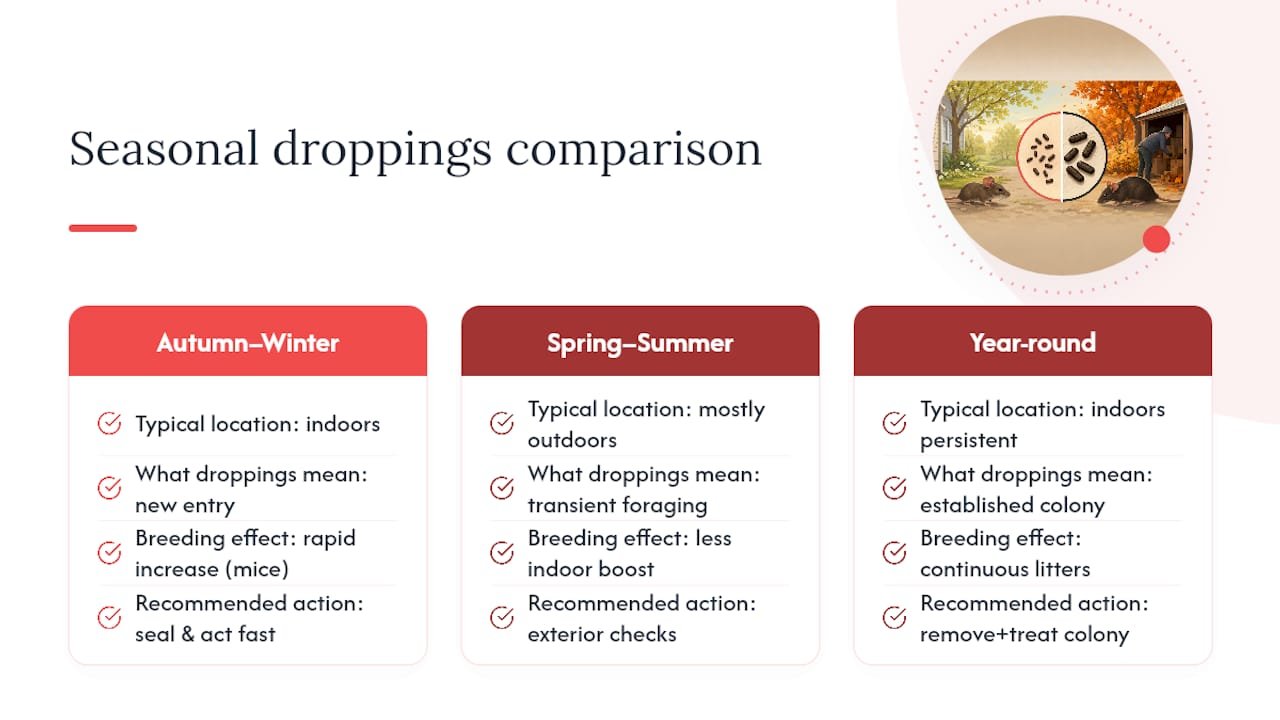
Rodent activity, and the droppings that come with it, follows a predictable seasonal rhythm. Cooler months push both rats and mice indoors as they search for shelter and steady food access, which is why homeowners often notice a jump in droppings around fall and into winter. Warmer months tend to see rodents spend more time outdoors foraging, so indoor sightings can drop even though the population itself hasn’t shrunk.
That seasonal shift matters for how you read what you’re finding. A sudden cluster of fresh droppings appearing in autumn usually means rodents are actively moving in for the season, not that you’ve had a hidden population all along. A steady, low-level trickle of old and new droppings year-round, on the other hand, points to an established indoor colony that’s simply breeding regardless of outdoor conditions.
Breeding cycles compound the seasonal effect. Mice can produce a new litter roughly every three weeks under good conditions, so a small autumn entry can turn into a much larger dropping count by midwinter if nothing gets sealed or trapped early. That’s the practical reason pest professionals treat early-season droppings as a signal to act fast rather than wait and monitor.
How Professionals Read Droppings to Plan Treatment
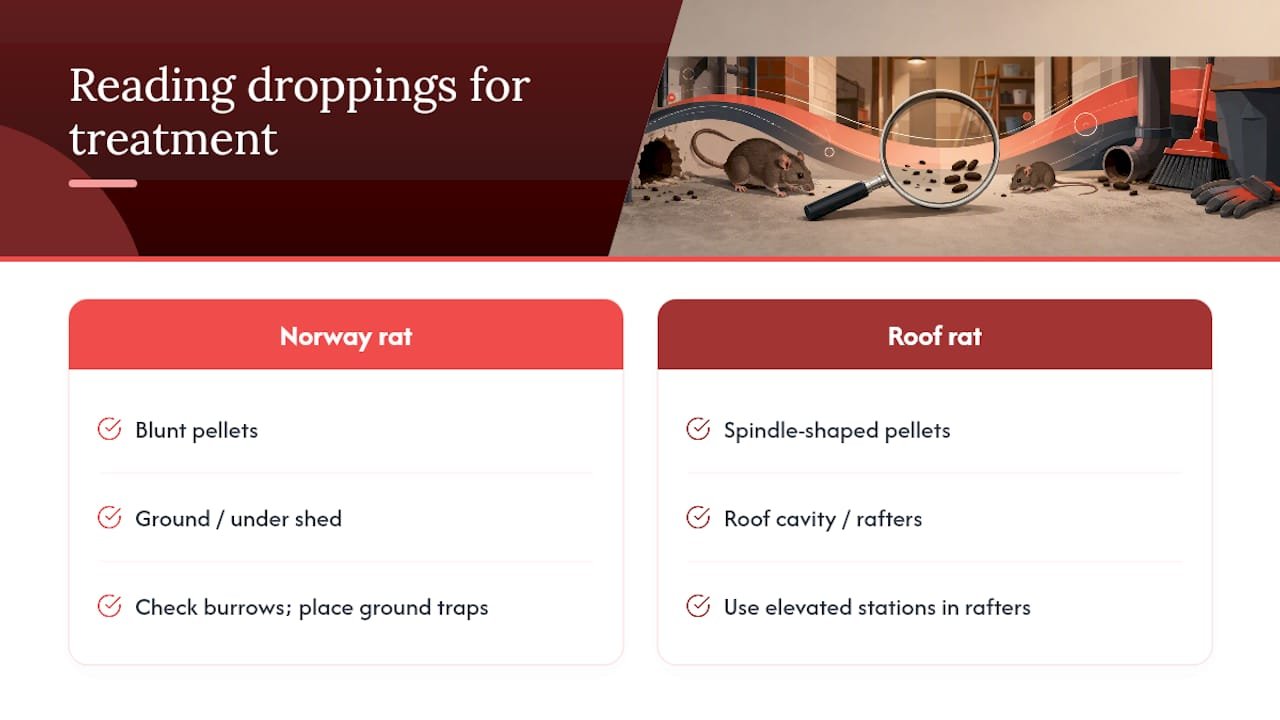
Droppings are the starting point of a proper inspection, not the finish line. A latrine of blunt Norway rat pellets under a shed tells a technician to check for burrows and place ground traps; a scatter of spindle-shaped roof rat droppings in a roof cavity sends them straight to the rafters with elevated stations instead. Getting that placement wrong is the single biggest reason DIY trapping stalls out after week one.
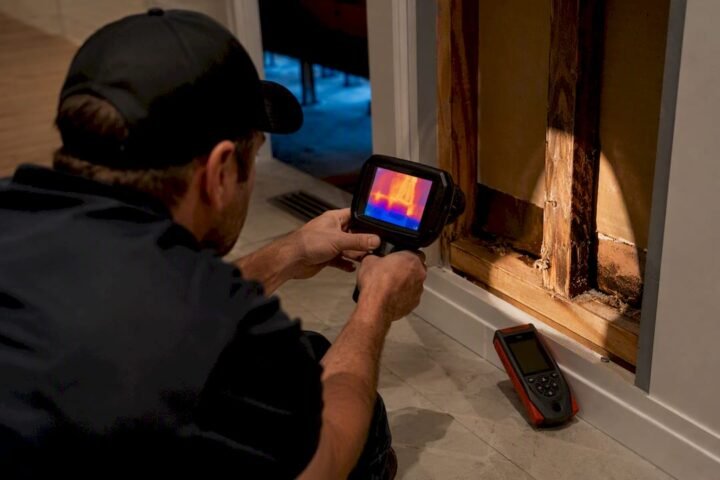
Licensed technicians pair that visual read with tools homeowners don’t have on hand, including thermal imaging to locate nests hidden inside walls or ceilings. Full decontamination and entry-point proofing afterward is what actually stops the cycle from restarting, since a trapped rodent without sealed gaps just gets replaced by the next one.
— navin
Getting a Professional Read on Your Rodent Problem
A magnifying glass and a tape measure will get you a species guess. A trained technician gets you a treatment plan that actually accounts for where the animals nest, how they’re entering, and what’s kept them fed. Bugspatrol Pest Management sends licensed technicians who inspect the property, identify the species from droppings and other signs, and use tools like thermal imaging to find nests you’d never spot from the floor.

A typical visit runs through inspection, a written report on what was found and where, targeted treatment matched to the species (ground stations for Norway rats, elevated placements for roof rats, or precision baiting for mice), and a follow-up to confirm the problem’s actually gone. If you’ve already found droppings, photograph them next to a coin for scale and note where you saw them. That detail speeds up the rodent inspection and removal process considerably. For ongoing prevention once the current issue is cleared, ask about proofing gaps and entry points through Bugspatrol’s rodent control removal service, and if you’re in Canberra and want the whole thing handled from first inspection to final seal, book a rodent control visit and get a straight answer on what’s actually living in your walls.
This article is general information, not a substitute for advice from a qualified doctor. Consult a qualified healthcare professional about your own circumstances before acting on anything here.
Sources
- Rodents — pest control (Victoria Government)
- Health advisory: Mice infestations and pesticide safety (WA Health)
- NSW Department of Primary Industries — rodent management guidance