If you suspect mice in your walls, do not seal the holes yet. Remove the mice first, then exclude and clean. Sealing before eviction traps animals inside, and a dead mouse in a wall cavity turns a $20 fix into a job that can involve cutting drywall or replacing insulation.
Before anything else: pull food sources off nearby counters, keep pets and kids away from any area where you plan to place bait, and skip loose rodenticide pellets that a curious dog or toddler could reach.
Your first moves, in order:
- Listen and map. Note which rooms have activity and at what time of night.
- Set traps in those zones before you touch caulk or foam.
- Call a licensed pro if you hear activity in multiple rooms, smell decay, or find chewed wiring.
Key Takeaways
Removing mice before sealing entry points prevents dead-animal odor and stops the infestation from simply relocating deeper into the wall.
| Point | Details |
|---|---|
| Evict before you seal | Trap and remove mice completely before closing any entry point to avoid trapping animals inside. |
| Map activity first | Use a night listening routine and flour tracks to find active zones before placing traps. |
| Place traps correctly | Set snap traps perpendicular to the wall with the trigger touching the baseboard, three to five per zone. |
| Seal with steel wool and caulk | Gaps as small as 6 millimeters let mice in, so pack them with steel wool before caulking over. |
| Call in help when it persists | Bugspatrol offers full inspection, targeted trapping, and exclusion work for infestations DIY methods can’t clear. |
Table of Contents
- Signs of Mice in Walls You Shouldn’t Ignore
- How Do You Confirm Mice Are Actually in the Wall?
- How to Get Rid of Mice in Walls Without Making It Worse
- Sealing Entry Points After the Mice Are Gone
- Cleaning Up Safely After a Mouse Infestation
- When Should You Call a Professional for Mice in Walls?
- Why Trust This Advice on Mice in Walls
- Sources
Signs of Mice in Walls You Shouldn’t Ignore
Scratching that starts after dark and stops by sunrise is the clearest tell. Mice are nocturnal, so a house that goes quiet during the day but comes alive around 9 or 10 p.m. with scurrying, light gnawing, or faint scratching near baseboards or ceiling lines is a strong signal you’re dealing with rodents, not a settling foundation or expanding ductwork. Settling noises tend to be a single pop or creak; mouse activity is repetitive and moves.
Beyond sound, look for these physical clues:
- Droppings shaped like small dark rice grains, usually near the suspected entry point or along a wall.
- Grease or rub marks where mice repeatedly brush against the same edge of drywall or a stud.
- Small chewed holes, often no larger than a coin, near pipes, vents, or corners.
- Shredded nesting material such as insulation, paper, or fabric pulled into a void.
- A musky, ammonia-like odor that gets stronger the longer the infestation runs.
Scratching, droppings, grease marks, and nesting debris are the four signs pest-control authorities consistently point to as reliable indicators of a mouse infestation inside wall voids. Location matters too. Kitchens and laundry rooms back onto plumbing chases that mice love, so activity concentrated there usually means a wall-void colony rather than a single stray mouse passing through the attic. Our mouse infestation signs guide breaks these down room by room if you want a closer look.
How Do You Confirm Mice Are Actually in the Wall?
Guessing where to put a trap wastes time and lets the population grow. Three cheap tests will tell you almost everything you need to know before you spend a dollar on equipment.
- Run a night listening routine. For three to four nights, sit quietly near suspect walls between 9 p.m. and midnight and jot down which rooms produce sound. Sketch a rough floor plan and mark an “X” everywhere you hear activity. Patterns usually emerge by night two.
- Try the flour or talc test. Dust a thin, even layer of flour along the baseboard in a suspected pathway, then check it the next morning. Fresh tracks confirm an active route and tell you exactly where to place a trap, rather than somewhere that looks convenient.
- Search for droppings and rub marks near likely entry points, including under sinks, behind appliances, and around any gap where a pipe or cable enters the wall. These clusters usually sit within a few feet of the actual hole mice are using.
One habit to avoid: tapping or banging on the wall to “flush” mice out. It usually just drives them deeper into the void and makes trapping harder, not easier.
How to Get Rid of Mice in Walls Without Making It Worse
Sealing every crack the moment you spot droppings feels productive, but it’s the single most common mistake homeowners make. Trap first. If you close off access points while mice are still inside the wall cavity, you risk killing them in a spot you can’t reach, and a decomposing mouse can produce an odor strong enough to require cutting an access panel or replacing insulation to fully clear it.
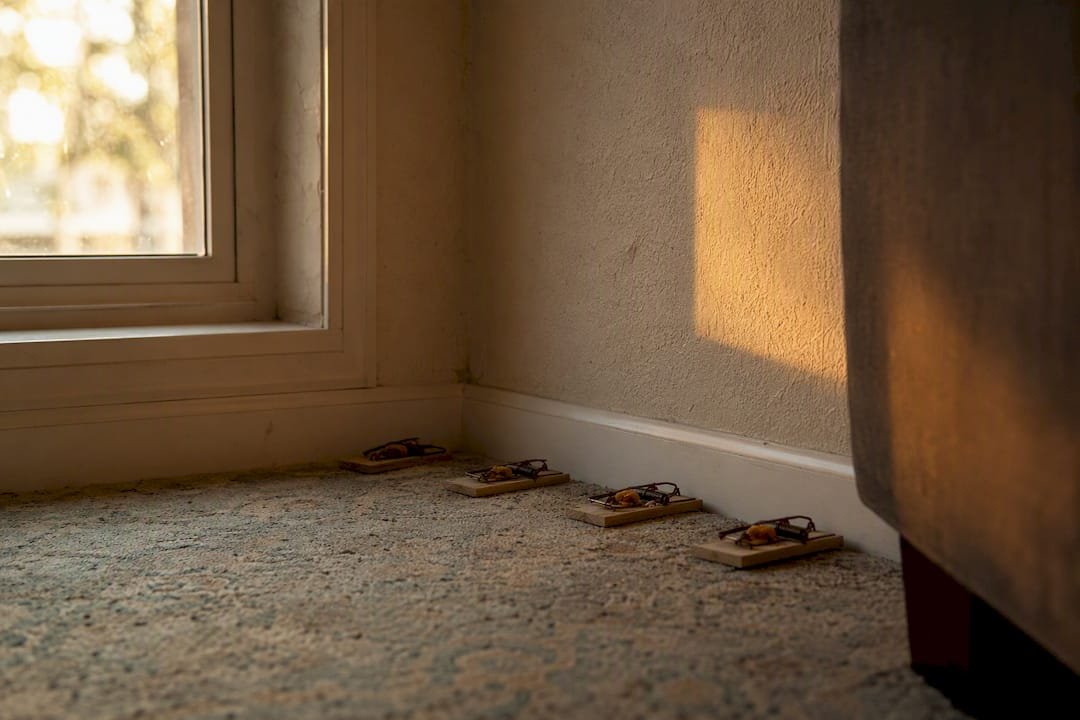
Snap traps remain the fastest, most reliable DIY tool. Place them perpendicular to the wall with the trigger plate touching the baseboard. Mice run along edges, not through open floor space, and this orientation intercepts their actual path far better than a trap set flat against the wall. Peanut butter or a small piece of nut works better than cheese as bait. In a confirmed active zone, use three to five traps rather than one or two.
Live traps offer a no-kill option, but check your local regulations before releasing anything. Many jurisdictions require release at a set minimum distance from any dwelling, and a mouse dropped just down the street will likely find its way back or into a neighbor’s wall instead.
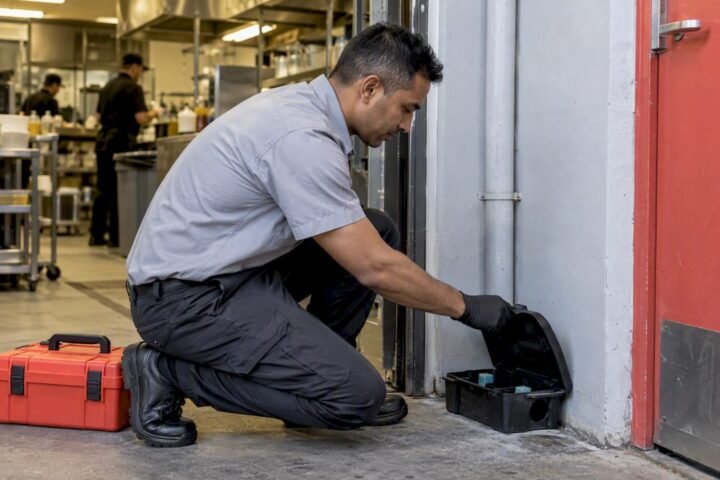
Tamper-resistant bait stations have their place, particularly in larger infestations, but treat them with real caution. Rodenticides pose genuine risks to children and pets, so stations belong in areas kids and animals can’t access, and loose bait should never be scattered by hand.
When handling dead mice or droppings, wear gloves and a mask, and never touch either with bare hands.
- Bag carcasses and disinfect the trap before resetting it.
- Wet down droppings with disinfectant before wiping. Never dry-sweep or vacuum them.
- Wash your hands thoroughly after every check, even with gloves.
Pro Tip: Check traps every morning, not every few days. A mouse left in a snap trap too long inside a warm wall cavity accelerates the odor problem you’re trying to avoid in the first place.
Sealing Entry Points After the Mice Are Gone
Once your traps have gone quiet for several consecutive nights and the flour tracks stay undisturbed, it’s time to seal. Exclusion done well is a one-time job; exclusion done with the wrong materials is a recurring chore.
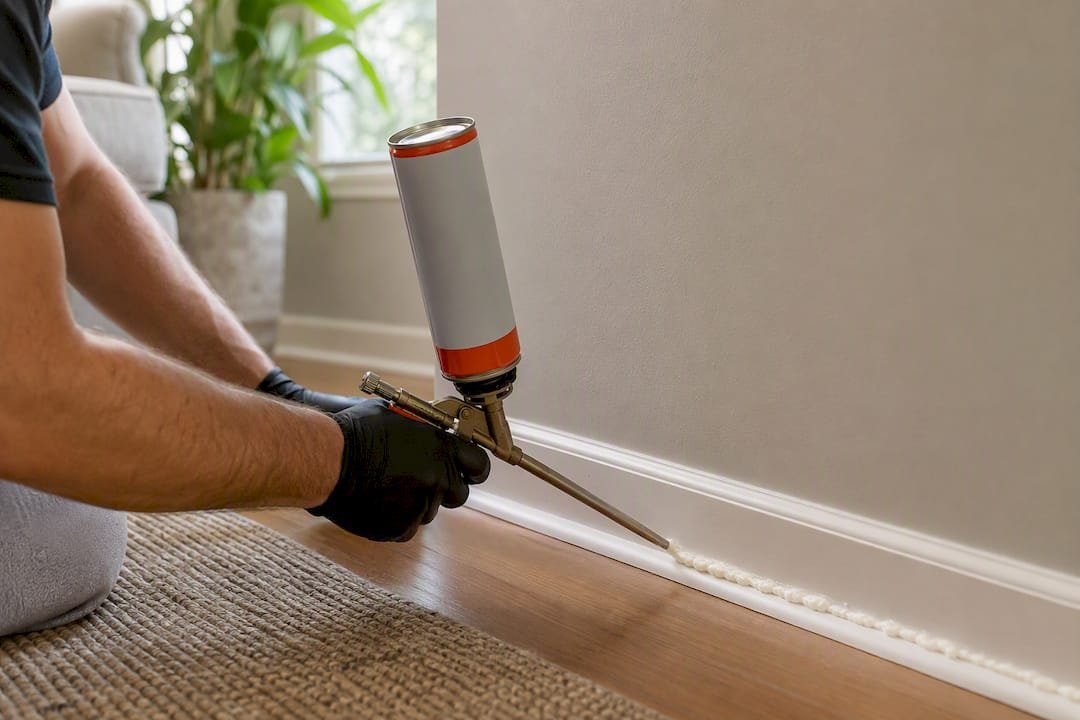
Steel wool packed tightly into a gap and finished with a bead of caulk is one of the most effective methods available to a homeowner, because mice can’t chew through the fibers the way they tear through foam. Spray foam alone is not a fix. It feels solid going in, but a determined mouse will gnaw straight through it within days. Save foam for finishing over steel wool, not as the primary barrier.
Check these spots first, since they account for most rodent entries:
- Gaps around utility penetrations (pipes, cables, gas lines) entering the foundation or siding.
- Dryer vents and exhaust vents without a proper metal cover or with a damaged flap.
- Soffit gaps and rooflines where trim has pulled away.
- Sill plate gaps where the house frame meets the foundation.
Mice can squeeze through anything wider than about 6 millimeters, roughly a quarter inch, so any gap that size or larger needs permanent sealing, not a temporary patch. Use hardware cloth over larger openings and metal vent covers anywhere plastic ones have cracked. Our rodent proofing guide covers material choices in more depth if you’re tackling a whole exterior.
Pro Tip: If a gap sits behind cladding or requires cutting into a finished wall to access, that’s a job for a trades contractor, not a caulk gun. Structural remediation work like this is where a specialist mitigation service or a licensed contractor earns its fee.
Cleaning Up Safely After a Mouse Infestation
Rodent droppings and urine can carry pathogens that become airborne if disturbed, so cleanup technique matters as much as the removal itself.
- Wear gloves and a well-fitted mask before entering any contaminated space.
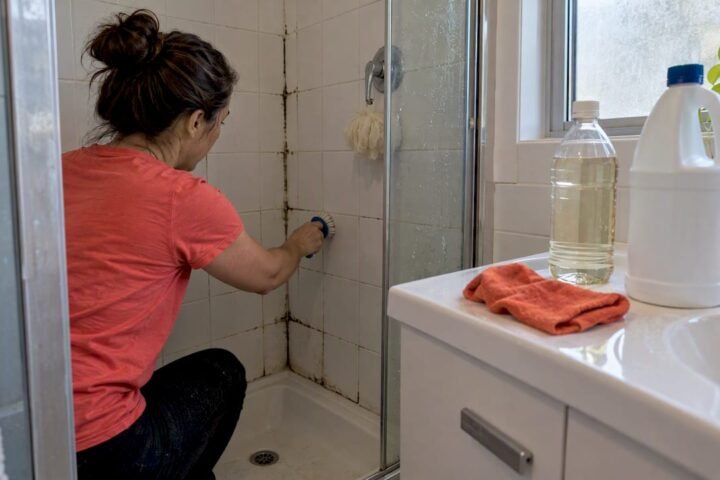
- Spray droppings and nesting material with a bleach solution or commercial disinfectant and let it sit before wiping, rather than sweeping or vacuuming dry debris.
- Seal contaminated material, including old insulation and nesting debris, in a plastic bag before placing it in an outdoor bin.
- Wash any tools or gloves used, and disinfect surfaces the mice had regular contact with.
Disinfecting rather than dry-sweeping droppings before disposal is standard guidance across pest-control health resources, and it’s the step homeowners skip most often because it feels slower. If you find a large nest, heavy insulation staining, or a dead animal you can’t reach, that’s the point to bring in a professional rather than keep working at it yourself.
When Should You Call a Professional for Mice in Walls?
DIY traps handle most single-mouse or small-family infestations. Call a licensed pest-control company when the situation moves past that.
- Scratching or scurrying continues nightly for more than a week despite active trapping.
- You find chewed electrical wiring, which is a fire risk, not just a nuisance.
- A strong decay odor persists, suggesting a mouse died somewhere inaccessible.
- Activity spans multiple rooms or floors, pointing to an established colony rather than a lone intruder.
A professional visit typically includes a full inspection, targeted trapping or baiting at wall-void access points, exclusion work, and a follow-up check to confirm the fix held. Expect the technician to ask about activity timing and locations, so keep your notes from the listening routine handy. That information alone can cut inspection time significantly.
Why Trust This Advice on Mice in Walls
Bugspatrol has more than a decade of experience across Canberra, and rodent calls follow the same pattern almost every time: homeowners who sealed too early end up calling back within weeks.
- Licensed technicians trained in modern detection and treatment methods, not just bait and hope.
- Direct experience with targeted rodent removal, rodent proofing, and referrals for insulation or cleanup after heavier infestations.
- Field-tested trap placement and sequencing that lines up with what independent pest authorities recommend.
The homeowners who avoid a repeat infestation are never the ones with the fanciest traps. They’re the ones who removed every mouse before touching a caulk gun, and checked their exterior again the following season.
A Homeowner’s Note on Getting This Right
Speed tempts people to seal first and trap later. Resist it. A colony inside a wall cavity is a family safety issue as much as a property one, especially with bait stations or dead animals in the mix. Document what you find, walk your home’s perimeter each season, and treat exclusion as maintenance, not a one-time event.
Get Professional Help With Mice in Your Walls
DIY trapping and sealing works for plenty of homeowners, but not every infestation stays small enough to handle alone, especially once mice have been active for weeks or you’re finding activity in more than one room. Bugspatrol’s rodent technicians inspect the wall cavities directly, place targeted traps and bait at the actual entry points rather than guessing, and finish with proper exclusion work so the same gap doesn’t let in the next generation of mice.

A booking includes a full inspection of your home’s exterior and interior activity zones, targeted trapping or baiting where needed, and sealing of confirmed entry points using materials built to last, not just spray foam. If nightly scratching has gone on for more than a week or you’ve found chewed wiring, get a professional rodent removal quote before the problem spreads further into your walls.
Sources
- How To Get Rid Of Mice In The Walls Fast Step-By-Step Guide — Defender Pest
- Mice in the walls — BobVila
- Top signs of a mouse infestation & what to do — Rentokil
Recommended
- Bugs Patrol Canberra – Professional Pest Control Services
- Bugs Patrol Canberra – Professional Pest Control Services
- Bugs Patrol Canberra – Professional Pest Control Services
- Bugs Patrol Canberra – Professional Pest Control Services