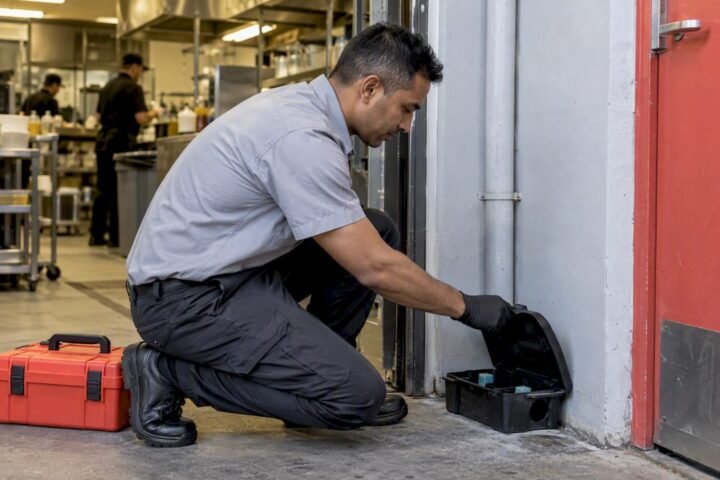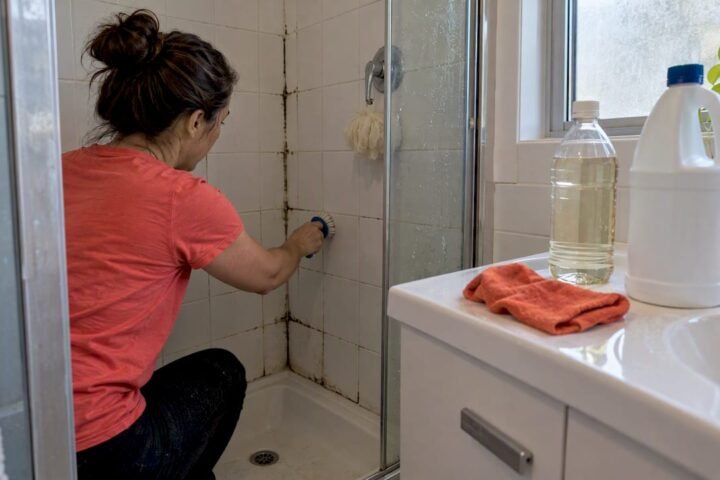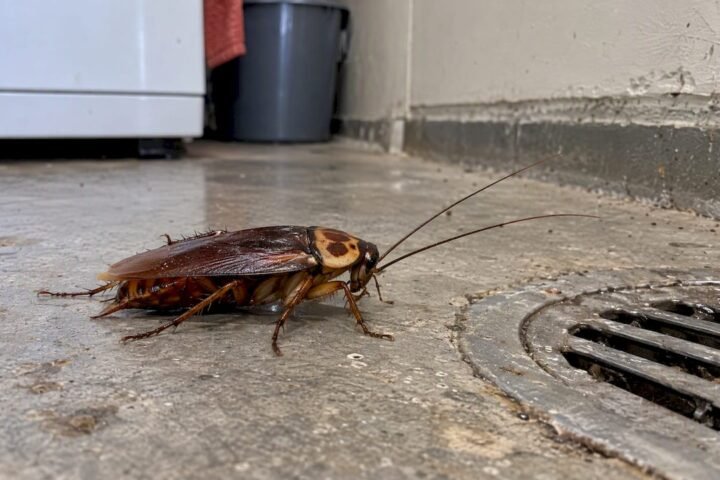
Check five things first: soil-to-wood contact around the foundation, mud tubes on piers or walls, hollow-sounding timber when tapped, moisture around plumbing and roof leaks, and discarded wings near windowsills. If you find any of these, stop probing further, photograph the spot with something for scale, and call a licensed termite inspector before you do anything else — cutting into a wall or disturbing a mud tube can destroy evidence a technician needs.
Work through these zones in order:
- Exterior perimeter: foundation, weep holes, decking, garden beds touching the house
- Subfloor or crawlspace: stumps, bearers, piers, ant capping
- Roof space: rafters, insulation edges, ceiling joists
- Interior joinery: skirting boards, door frames, window frames
- Plumbing and moisture sources: under sinks, hot water systems, AC units
Routine homes should get a professional inspection annually. Anyone buying a property needs a dedicated timber pest inspection scheduled before the contract goes unconditional, not after.
Key Takeaways
A thorough termite inspection checklist combines exterior, subfloor, roof, and interior checks with prompt documentation, and any active signs found should trigger an immediate call to a licensed technician.
| Point | Details |
|---|---|
| Start with the highest-risk zones | Check soil-to-wood contact, mud tubes, and subfloor moisture before anything else. |
| Document everything as you go | Take timestamped, labeled photos and a rough perimeter sketch for any report. |
| Know the difference between active and old damage | Moist mud tubes and live termites mean act now; dry, brittle tubes mean monitor. |
| Respect the access limits | Skip unsafe subfloor, roof, or ladder situations and note them for the inspector. |
| Call a professional for confirmation | Bugspatrol’s licensed technicians use thermal imaging and moisture meters to verify findings a DIY check can only suspect. |
Table of Contents
- What to Gather Before You Start the Termite Inspection Checklist
- Inspecting the Exterior: Foundations, Walls, and Entry Points
- Checking Skirting Boards, Frames, and Floors Inside
- Getting Under the House: Subfloor and Crawlspace Risks
- Roof Space Checks: Rafters, Insulation, and Ceiling Voids
- How Plumbing Leaks Feed Termite Activity
- Yard and Landscaping Features That Invite Termites
- Active Termite Signs vs. Old Damage
- Recording Findings and What a Professional Report Includes
- When to Stop the DIY Checklist and Call a Licensed Inspector
- What Licensed Technicians Bring to a Termite Assessment
- Common Termite Species and Their Behaviors
- Preventative Measures and Treatments Worth Recommending After Inspection
- Legal Requirements Around Termite Inspections
- Health and Safety Precautions During a Termite Inspection
- Book a Licensed Termite Inspection With Bugspatrol
- Frequently Asked Questions
- Sources
What to Gather Before You Start the Termite Inspection Checklist
Grab a strong flashlight, a flathead screwdriver for probing, and your phone camera before you touch anything. A moisture meter helps if you own one, but it’s not essential for a homeowner’s first pass. Keep a notebook or notes app open to log locations as you go.
Unlock subfloor hatches, attic access panels, and any locked sheds or side gates ahead of time, and clear stored boxes away from walls so you can actually see the skirting. Wear old clothes and a mask for subfloor work — decades of dust and insulation fibers accumulate down there.
Pro Tip: Take one wide shot of each area first, then a close-up of anything suspicious, always with a coin or tape measure in frame. Never cut into a wall or ceiling to “check” — leave that to the inspector.
Inspecting the Exterior: Foundations, Walls, and Entry Points
Subterranean termites need contact with soil, so the outside of your house is where most infestations start.
- Walk the entire foundation perimeter, looking for pencil-width mud tubes running up brick, block, or stumps.
- Check every point where timber touches or sits within 6 inches of soil: deck posts, fence panels, planter boxes.
- Inspect eaves, weatherboard joins, stucco-to-soil junctions, and pipe penetrations for gaps or staining.
Pay attention to drainage while you’re out there. Gutters and downspouts that dump water against the foundation keep soil damp year round, and damp soil next to timber is exactly the conducive condition termites look for.
- Mud tubes on brick or stumps
- Cracks where soil meets the slab
- Timber garden edging touching the house
- Blocked or misdirected downspouts
Checking Skirting Boards, Frames, and Floors Inside
Start in bathrooms, the kitchen, laundry, and garage — anywhere plumbing or slab moisture gives termites an easy path indoors. Exterior-facing rooms on the ground floor deserve extra time too.
- Tap skirting boards and door frames with the handle of a screwdriver; a dull, hollow thud instead of a solid knock is a warning sign.
- Press gently into timber that looks discolored or blistered. If the screwdriver sinks in with little resistance, the wood has already been compromised.
- Check windowsills and light fittings near windows for small discarded wings, a telltale sign of a recent swarm.
- Look along the floor for subtle sagging or springiness underfoot, and check paint for bubbling that has nothing to do with a paint job.
Log each finding with a room name and a rough location, like “laundry, wall behind washing machine,” so nothing gets mixed up later.
Getting Under the House: Subfloor and Crawlspace Risks
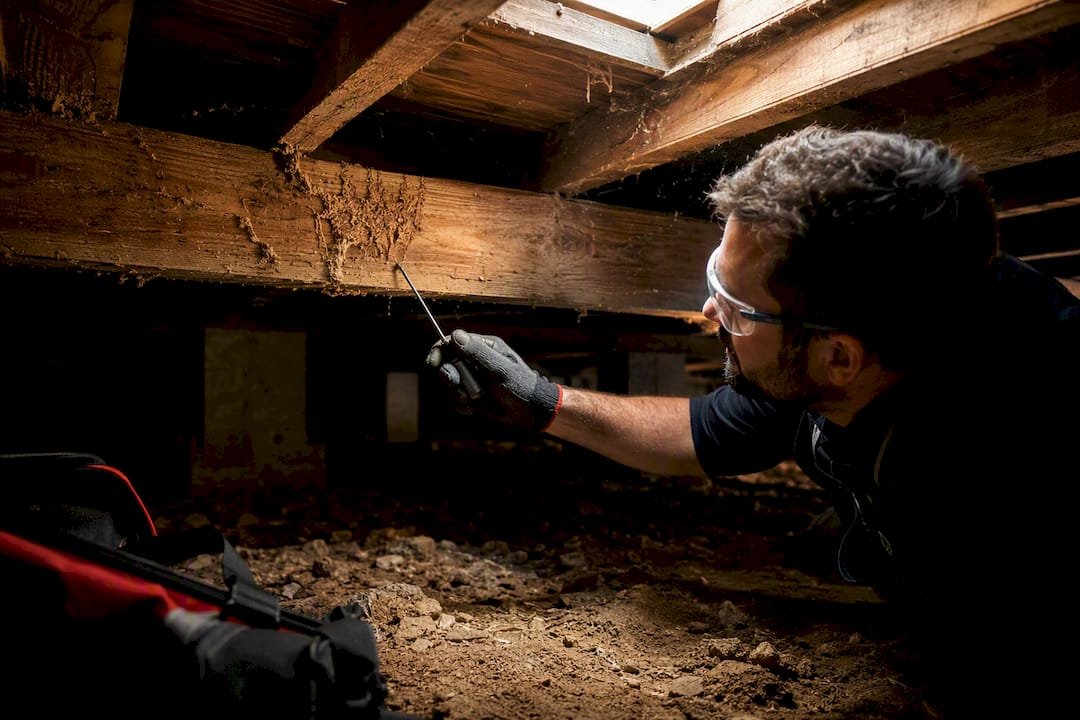
The subfloor is the highest-risk zone in most homes because it’s dark, humid, and rarely checked. Inspect stumps, bearers, and joists for mud tubes running up from the ground, paying close attention to where ant capping meets timber; termites will build tubes around the outside of capping to bypass it entirely.
- Damp insulation or standing water under vents
- Poor airflow between vents (a sign moisture is trapping itself)
- Mud tubes on brick piers or timber stumps
- Any timber offcuts or formwork left behind by builders
Confined spaces carry real risk from low clearance, sharp debris, and old wiring. If you can’t see a clear, dry path in, don’t force it.
Pro Tip: If the subfloor is inaccessible, note exactly which sections you couldn’t reach and pass that list straight to your inspector — a report that flags “not inspected: rear subfloor, low clearance” is far more useful than one that guesses.
Roof Space Checks: Rafters, Insulation, and Ceiling Voids
Drywood termites and secondary damage sometimes show up in the roof space long before anyone notices from below. Check rafters, ceiling joists, and the edges of insulation batts for frass, sagging timber, or small exit holes.
- Water stains near roof penetrations or flashing
- Poor ventilation trapping heat and humidity
- Insulation pushed aside or nesting material
Never inspect a roof space alone on an unstable ladder, and if the space is fully sealed or hard to access safely, have a licensed technician open it rather than forcing entry yourself.
How Plumbing Leaks Feed Termite Activity
Check under every sink, around the hot water system, and along AC condensate lines for slow drips that never quite dry out. Garden hoses left coiled against the foundation do the same damage over months.
- Soft or discolored cabinetry under sinks
- Water pooling near the hot water unit
- Grading that slopes toward the house instead of away from it
Quick fixes like re-routing a hose or fixing a drip are worth doing immediately, but if you’ve measured elevated moisture anywhere near timber, treat that as a reason to book a follow-up inspection sooner rather than later.
Yard and Landscaping Features That Invite Termites
Firewood stacked against the house, thick mulch beds, old tree stumps, and buried garden sleepers all act as termite food sitting right next to your foundation.
- Firewood or timber offcuts touching exterior walls
- Mulch piled deep against the slab
- Old stumps or fence posts within a few feet of the house
Pro Tip: Move firewood 3 to 6 feet from the house and pull mulch back from foundation walls today. These are stopgaps, not fixes; pair them with ongoing professional monitoring, especially if you’ve already spotted mud tubes elsewhere.
Active Termite Signs vs. Old Damage
Live workers, moist and flexible mud tubes, fresh frass, and wood that gives way easily under a screwdriver all point to an active infestation happening right now. Discarded wings scattered near a window after a warm, humid evening usually mean a swarm has recently landed nearby.
Dry, crumbly, abandoned mud tubes and old repaired timber tell a different story. Inspectors typically log these as “previous activity, no current evidence” rather than treating them the same as fresh signs, though a property with a history of termites still deserves closer monitoring going forward.
- Live termites or swarmers indoors
- Moist mud tubes that flex without breaking
- Loose, sawdust-like frass near timber
- Wood that crumbles or sounds hollow when probed
Photograph every finding with a label describing location and date, and keep active and historical signs in separate notes. That distinction matters when you’re negotiating a sale or deciding how urgent a treatment plan needs to be. For more on telling fresh damage from old, see this guide to termite inspection signs.
Recording Findings and What a Professional Report Includes
Log every observation with a timestamped photo and a short note tied to a location, such as “south garage exterior, mud tube on brick pier.” A rough sketch of the property perimeter with numbered markers matching your notes turns a pile of phone photos into something an inspector or buyer’s agent can actually use, a practice backed by pest technician inspection guidance.
A standard professional report generally includes these sections:
| Report Section | What It Covers |
|---|---|
| Property and scope | Address, areas inspected, and any zones marked inaccessible |
| Findings | Active activity, previous activity, and conducive conditions found |
| Evidence | Photos, diagrams, and moisture meter readings where taken |
| Recommendations | Suggested treatment, monitoring, or barrier work |
| Warranty and terms | Coverage period and conditions tied to any treatment performed |
Pro Tip: Ask the inspector to confirm in writing whether the report satisfies your lender’s or contract’s specific requirements. Some finance conditions want a report dated within a set window before settlement.
When to Stop the DIY Checklist and Call a Licensed Inspector
Stop and call a professional the moment you find live termites, moist mud tubes, timber that’s clearly hollowed out, or a subfloor and roof space you simply can’t access safely. Pre-purchase inspections fall into this category by default.
A licensed technician brings species identification, invasive probing tools, and a formal report your lender or solicitor will actually accept, plus treatment options backed by a warranty.
- Photograph anything suspicious before you call
- Avoid disturbing mud tubes or damaged timber
- Pull together any past pest reports on the property
Pro Tip: Verify the inspector’s license number through your state’s online contractor licence search before you book, especially for pre-purchase inspections tied to a contract deadline.
What Licensed Technicians Bring to a Termite Assessment
Thermal imaging cameras pick up temperature differences in wall cavities that often correspond to termite activity or moisture buildup, catching problems a flashlight and screwdriver never will. Moisture meters quantify what your hand can only guess at, and borescopes let a technician look inside a wall cavity without opening it up.
Licensing for pest management and fumigation work is regulated, and WorkCover NSW sets out which treatments legally require a licensed operator. Training pathways like TAFE NSW’s pest management courses are one signal worth asking about when you’re vetting an inspector.
- Ask whether thermal imaging is included in the standard inspection
- Confirm the technician’s license number and scope of work
- Ask how invasive testing is handled if hidden damage is suspected
Thermal imaging and moisture meters catch conducive conditions and hidden activity that a visual-only inspection misses entirely, which is why Bugspatrol’s licensed technicians use both as standard on Canberra termite inspections.
Common Termite Species and Their Behaviors
Subterranean termites are the species most Australian homeowners need to worry about. They live in soil, build mud tubes to travel above ground, and need constant contact with moisture to survive, which is why so much of a proper inspection focuses on soil-to-wood contact and dampness around the foundation.
Drywood termites behave differently. They don’t need soil contact at all, colonizing dry timber directly, often in roof framing or furniture, and they leave distinctive dry, pellet-like frass instead of mud tubes. Because they don’t rely on ground moisture, they can show up in areas a soil-focused inspection might otherwise skip, which is exactly why the roof space checks matter as much as the subfloor ones.
Dampwood termites prefer timber that’s already wet or decaying, often near leaking pipes, poor drainage, or old untreated fence posts. They’re less common in and around occupied homes than subterranean termites but still worth ruling out if you’ve got persistent moisture problems somewhere on the property.
Each species leaves a slightly different signature, which is part of why species identification matters in a formal report. A treatment plan built for subterranean termites won’t necessarily address a drywood colony nesting quietly in the roof trusses, so getting the species right shapes everything that follows, from barrier placement to ongoing monitoring schedules.
Preventative Measures and Treatments Worth Recommending After Inspection
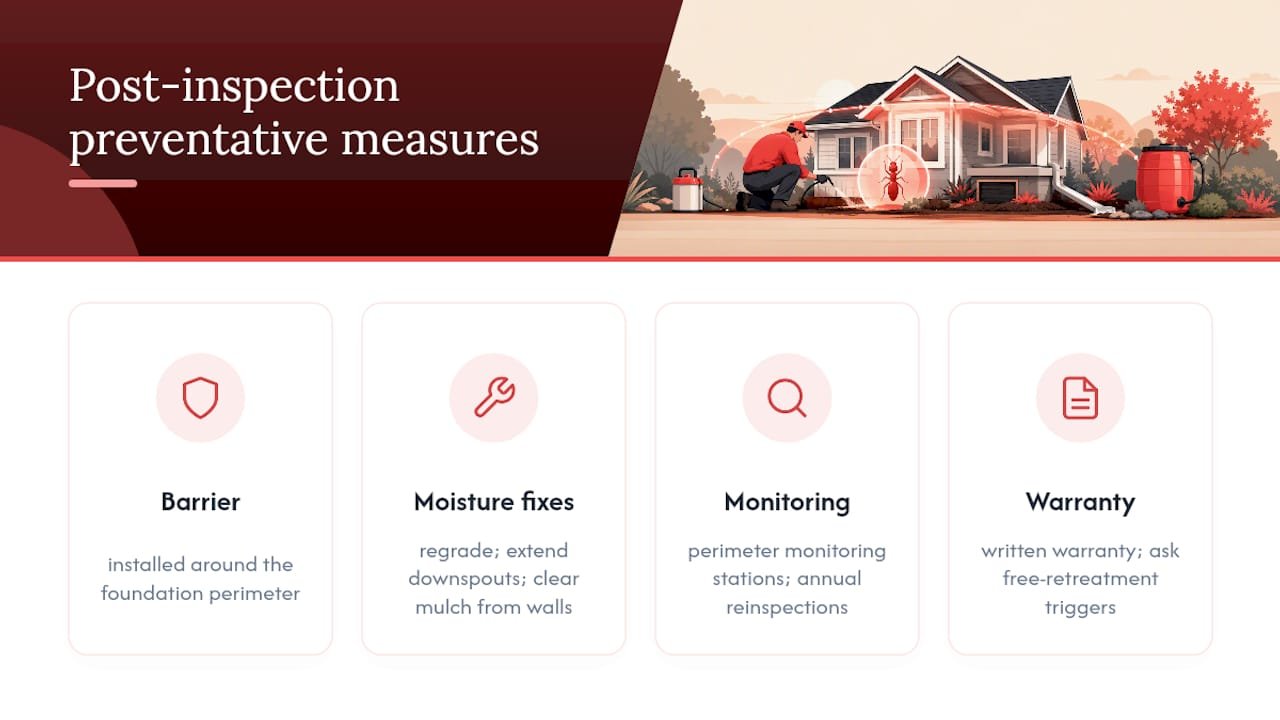
Once an inspection turns up conducive conditions, even without active termites, a few preventative steps cut future risk substantially. Physical or chemical termite barriers installed around the foundation perimeter are the most common long-term defense, creating a treated zone termites either can’t cross or can’t survive crossing.
Regrading soil away from the foundation, extending downspouts, and clearing mulch back from walls address the moisture side of the equation without any chemical treatment at all. These are cheap fixes homeowners can do themselves the same weekend as the inspection.
For properties with a documented history of termite activity, ongoing monitoring stations placed around the perimeter give an early warning if a new colony moves in after treatment. Annual reinspections matter more here than on a clean property, since previous activity is one of the strongest predictors of recurrence.
New builds benefit from termite protection installed during construction, which is far cheaper and more thorough than retrofitting an existing slab. If you’re building or extending, ask your builder what termite management system is specified before the slab goes down; see this guide to termite prevention for new homes for what to look for.
Whatever treatment gets recommended, ask for a written warranty period and what triggers a free retreatment, since terms vary considerably between providers and treatment types.
Legal Requirements Around Termite Inspections
Certain termite treatments, particularly chemical soil treatments and fumigation work, legally require a licensed pest management technician to carry them out. WorkCover NSW’s licensing framework covers who is authorized to apply these treatments and under what conditions.
Property sale contracts frequently include a condition requiring a pest and building inspection, though the exact wording and timeframes depend on the contract itself and the state the property sits in. Buyers should read this clause carefully rather than assume a generic timeframe applies everywhere.
Lenders sometimes have their own requirements about how recent a termite report needs to be before settlement, separate from anything the sale contract specifies. It’s worth confirming this directly with your lender rather than assuming your solicitor’s standard inspection window covers it.
None of this replaces advice from a solicitor or conveyancer handling your specific contract, but knowing that licensing rules exist, and that they specifically govern who can legally apply treatment, helps you ask the right questions when you’re comparing quotes from different providers.
Health and Safety Precautions During a Termite Inspection
Subfloor and roof spaces carry real physical risks: low clearance, loose insulation, old wiring, and sometimes asbestos-containing materials in older homes. Wear a mask and old clothing for any subfloor crawl, and never enter a space where you can’t see a clear path both in and out; for guidance on operator safety and risk management, consult the Pest Control Operator’s Guide to SWOT Analysis.
Ladders account for a disproportionate share of home inspection injuries, so use a stable, properly footed ladder for roof space access and never lean out to inspect something just out of reach. If a roof space is sealed, insulated with unknown material, or simply looks unstable, that’s the point where a licensed technician’s equipment and training earn their fee.
Avoid disturbing any suspected mud tubes, damaged timber, or nesting material more than necessary to photograph it. Beyond preserving evidence for a report, some pest treatments involve chemicals that shouldn’t be handled without proper training, which is part of why WorkCover NSW restricts certain pesticide applications to licensed operators.
If anyone in the household has respiratory issues or allergies, keep them out of the subfloor and roof space entirely during inspection, and ventilate the area afterward before spending extended time nearby.
A Practical Note From Canberra
This checklist reflects what actually gets missed on a first pass, not textbook theory. Termite swarm activity tends to pick up locally after warm, humid spells, so timing a routine inspection around spring gives you the earliest possible warning.
Book a Licensed Termite Inspection With Bugspatrol
A homeowner checklist catches obvious signs, but it can’t replace thermal imaging, moisture meters, and a decade of pattern recognition in Canberra homes. Bugspatrol’s licensed technicians run a full on-site inspection using thermal imaging to spot hidden activity behind walls and under slabs that a flashlight simply can’t reach.

Every inspection ends with a written report covering areas checked, findings, and clear treatment recommendations, backed by a service warranty if treatment is needed. Working across Canberra, the team knows which suburbs see recurring subterranean activity and which conducive conditions show up again and again in local subfloors. If your own walkthrough turned up mud tubes, hollow timber, or a subfloor you couldn’t safely access, book a licensed termite inspection and get a technician out to finish the job properly.
Frequently Asked Questions
How long does a typical termite inspection take?
A standard residential termite inspection typically takes between one and two hours depending on factors like property size and accessibility.
Can I do a termite inspection myself before selling my house?
You can run through this checklist yourself to spot obvious problems, but a pre-sale report almost always needs to come from a licensed inspector to satisfy buyer contracts and lender requirements.
What’s the difference between a pest inspection and a termite inspection?
A general pest inspection covers a broad range of insects and rodents, while a termite inspection focuses specifically on timber pest activity, moisture conditions, and structural risk from termites.
How often should routine homes get a professional termite inspection?
Most licensed technicians recommend annual inspections for routine homes, with more frequent checks for properties with a documented history of termite activity or heavy moisture issues.
Sources
Recommended
- Bugs Patrol Canberra – Professional Pest Control Services
- Bugs Patrol Canberra – Professional Pest Control Services
- Bugs Patrol Canberra – Professional Pest Control Services
- Bugs Patrol Canberra – Professional Pest Control Services